This one-woman remodeling company I hired is slower than molasses. Oh wait, that’s me. Well, at least the labor is free. It feels like I’ve been working on the shelving above my sink area for ages.
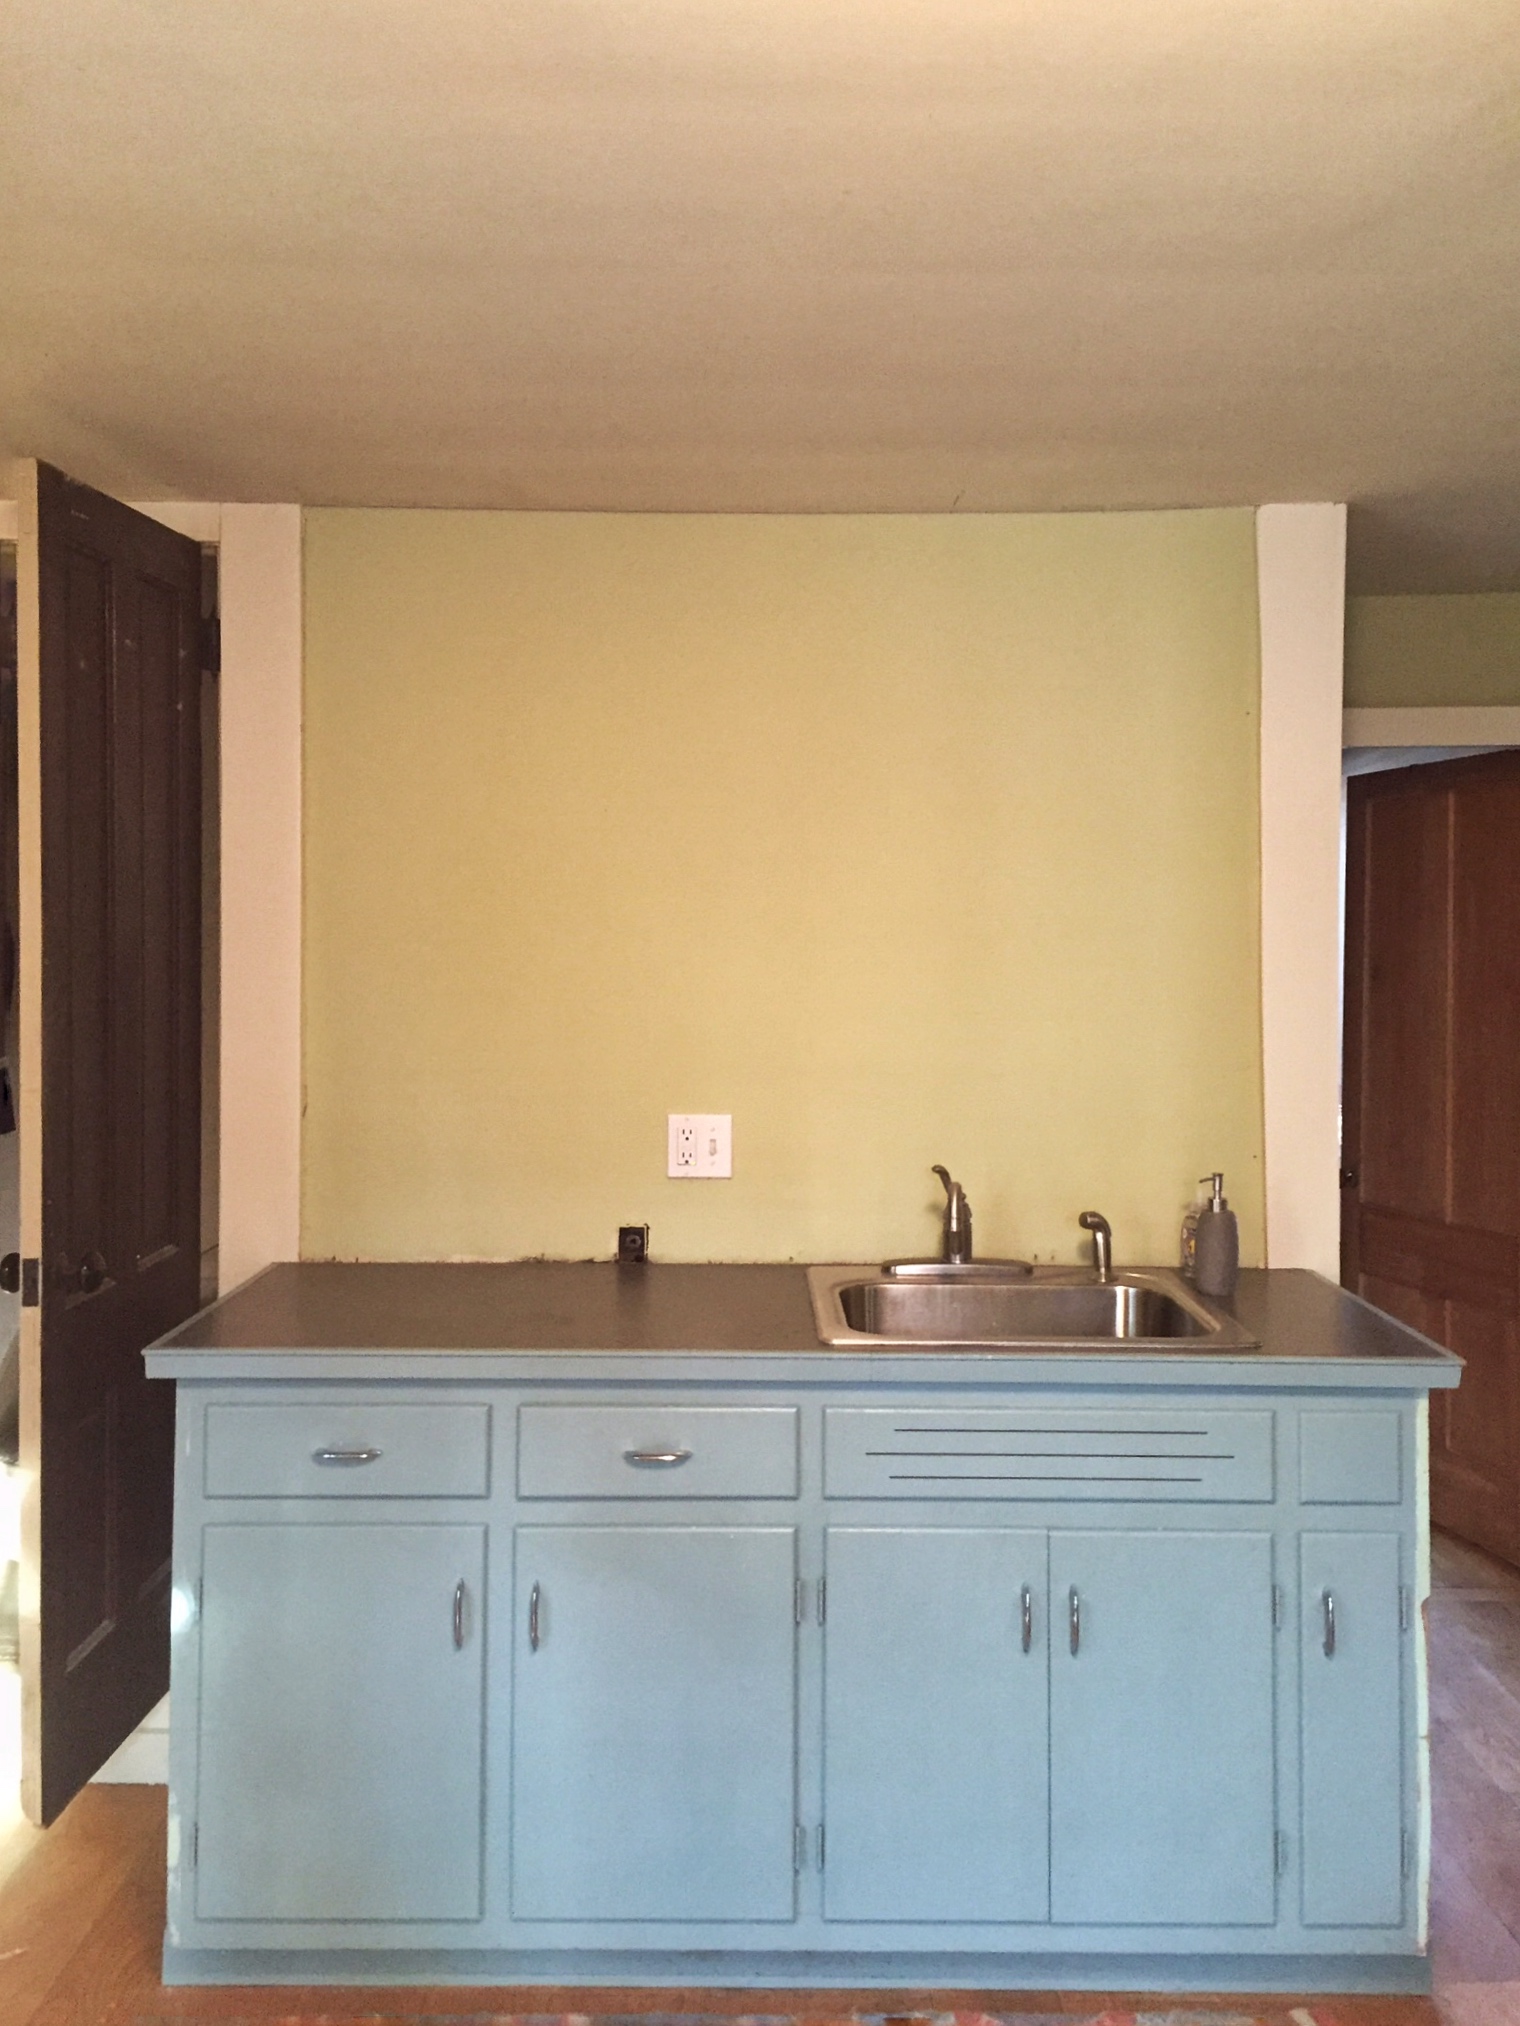
A reminder of the initial piece on the left:

After I pulled down the shelf, I painted the wall and the trim (unlike Honey who painted the wall after putting up the shelf…silly Honey).
My initial plan was to remove the bottom row of plate holders and the mug holders and replace them with a shelf. The goal was to visually simplify the space. As I started working on the shelving, I decided to rip off the top row of plate holders for a few reasons. First, they weren’t consistent with anything from the 1950s. Second, the shelf still looked busy with the row of plate holders. Third, and perhaps most importantly, the thought of sanding and painting all of those dowels was quite unappealing.
Then I was left with this iteration…

…sanded, patched, but no added shelf. I added a shelf, painted the whole unit the color of the cabinets, and then put the unit on the wall to see how it looked.
It looked great, except those legs at the bottom were awkward and looked rather amateurish (and my hired remodeling company is anything but!)…so I cut them off.
Now I have a hanging shelving unit that is simple and clean–much more 1950s (as good as it’s going to get as this point).
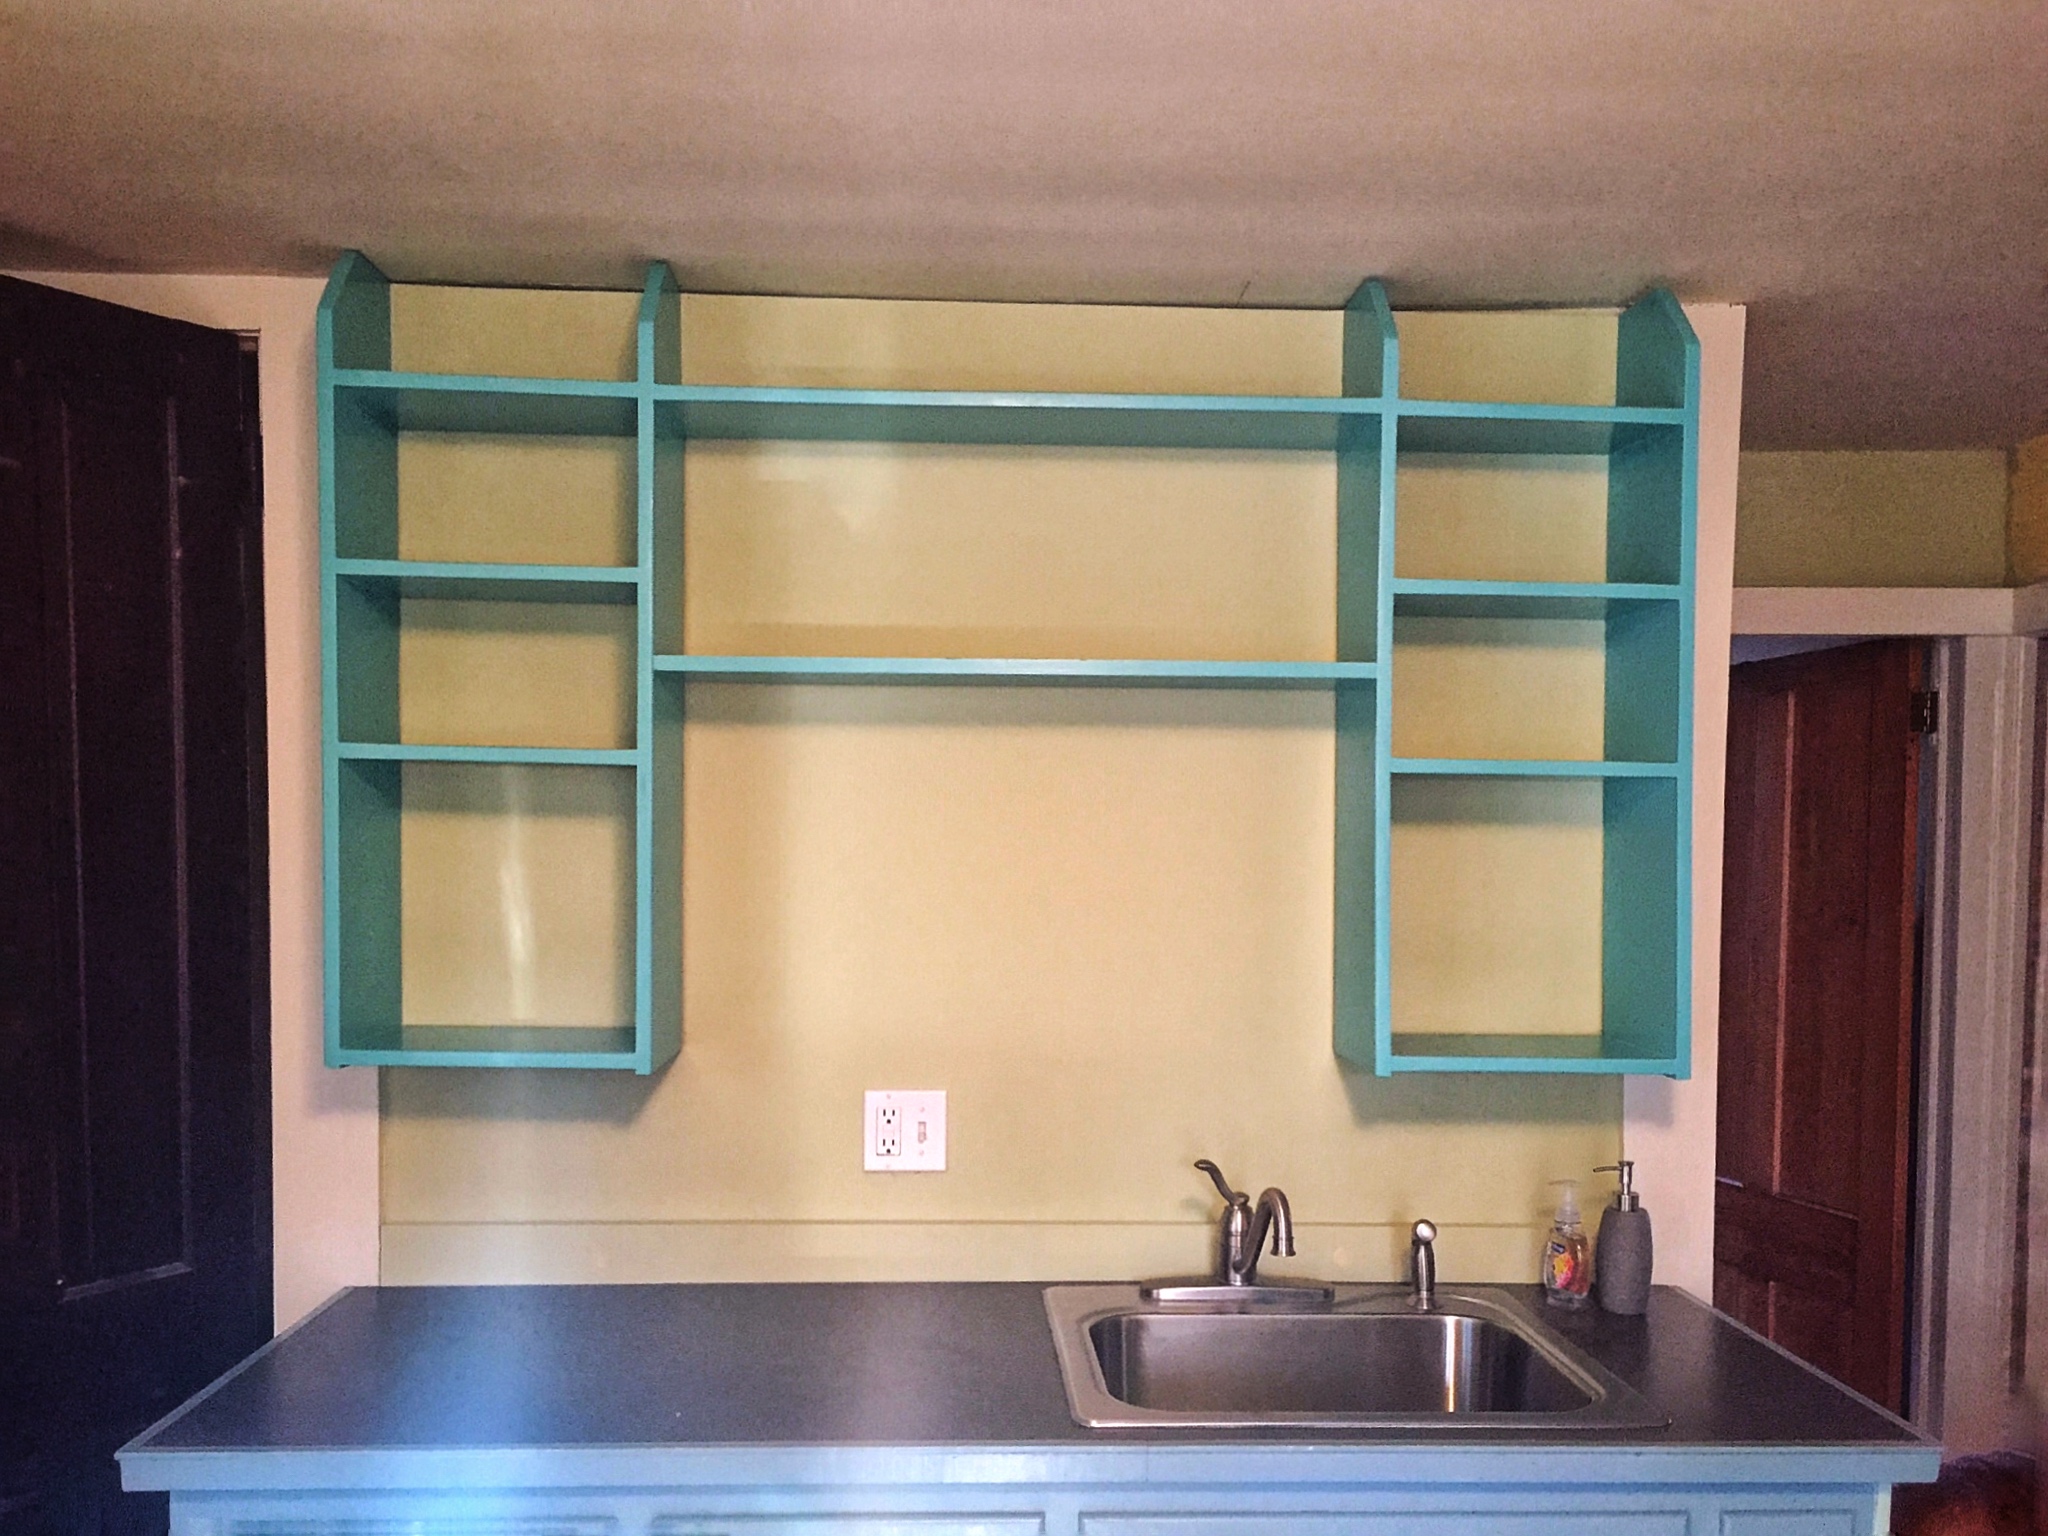
One trick I used was to paint the board at the top back the color of the wall so that it looks like it’s not there. That was needed to anchor the unit to the wall and couldn’t be removed due to the design of the original unit.
Instead of an ugly overly large wood backsplash, I added one that also was painted the color of the wall. It’s temporary as I’m going to replace the countertops and will replace the backsplash at the same time.
All in all, I’m quite pleased with the transformation. It fits much better with my vision for the kitchen and the remainder of the house.
Meanwhile, I’m not getting any cooking done,
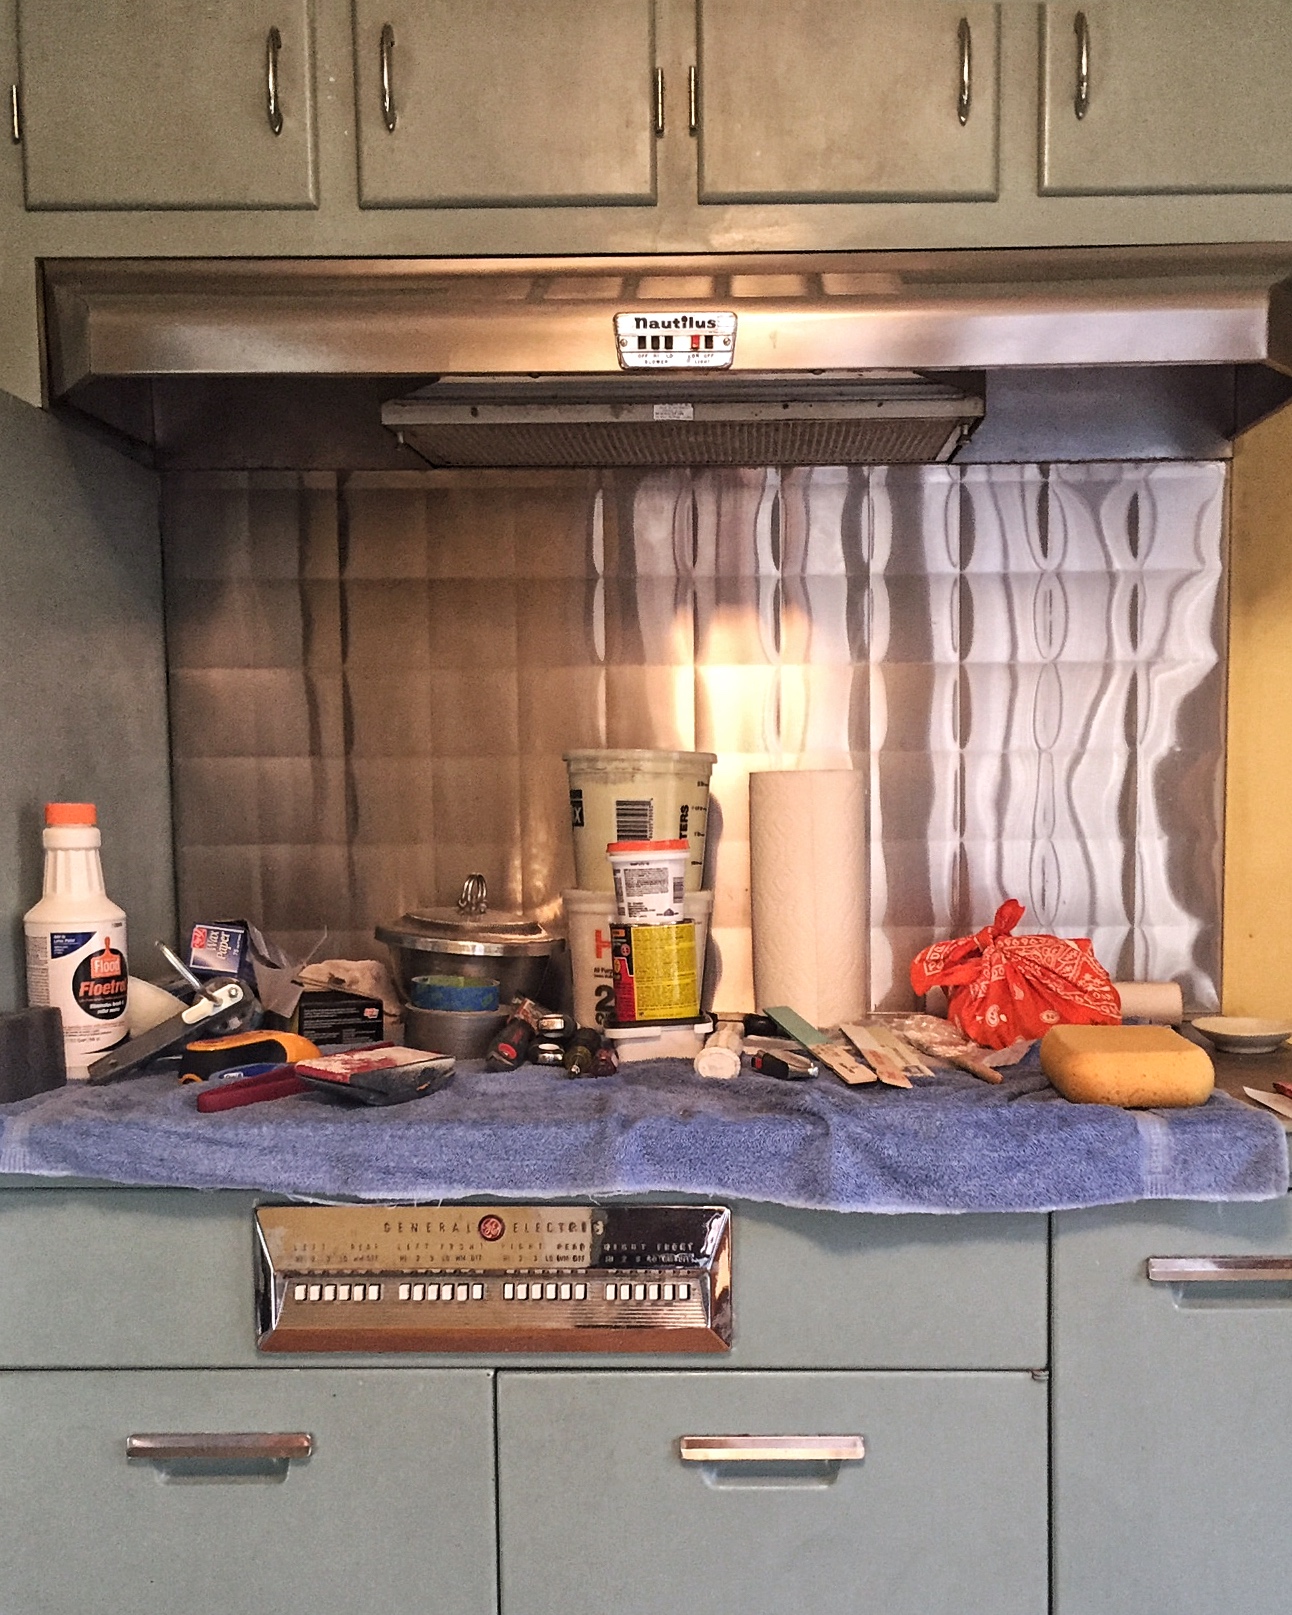
as the stove is the staging spot for all of my tools and materials. I am happy to report that all of the blue trim has been abolished as of today. To get to this point, I replaced two doorway head casings and one doorway side casing, and one window head casing and one window apron. Then I sanded, primed, and painted all baseboards, window casings, and doorway casings.
In progress: walls and cabinets. I like to work on several things at once…it keeps me from getting bored. Now if only I could find some more free labor!

Nice work. When I looked at the shelf unit I was wondering how you attached it to the wall. Glad you told us otherwise I might have been distracted all day thinking about it.
LikeLike
So glad I didn’t distract you while you were paddling–even more glad that my “trick” worked!
LikeLike
What a transformation! Simple visual effect wins.
LikeLike
Thank you! Simple always wins in my book.
LikeLike
I’m not free labor any more. My rates have gone up 100%. Oh, wait – that makes me still free! Well, the commute is too far.
LikeLike
I’m willing to pay for a plane ticket, housing, and your hourly rate if you’ll come help!
LikeLike
really like the look you developed. Not only simple but also elegant. Well done!
LikeLike
I’ll agree with simple, not sure about elegant but thank you!
LikeLike
I love older homes and I am enjoying your projects. You do an amazing job. You go girl!!!!
LikeLiked by 1 person
Thank you! It’s been a lot of fun and I’m learning a lot along the way. Thanks so much for commenting!
LikeLike